Google Drive
Adding and Setting Up the Google Drive App
Note:
The Google Drive app has replaced the Google Docs app.
With the Google Drive app, you can display any file or folder you have on your Google Drive on your site. Just connect the app to your Google Drive and select what you want to display.

Step 1 | Add the Google Drive app to your site
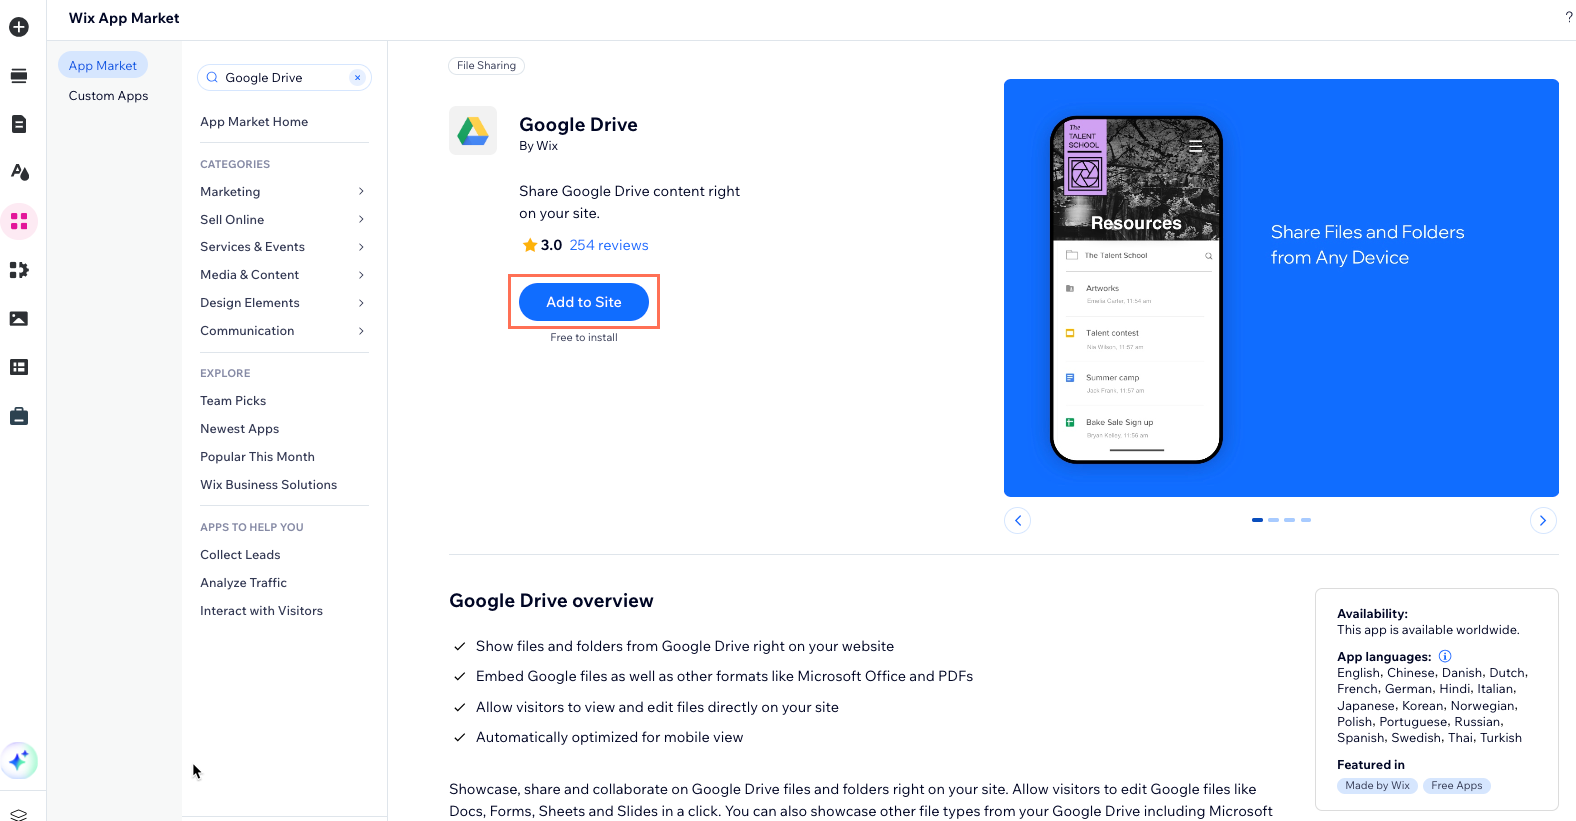
You can find the Google Drive app in the Wix App Market. Go to the App Market in your editor to add it to your site.
Wix Editor
Studio Editor
Click Add Apps
 on the left side of the editor.
Search for the Google Drive app in the search bar.
Click Add to Site.

Step 2 | Connect your Google account
Once you've added the Google Drive app to your site, it is time to connect your Google account.
To connect your Google account:
Click the Google Drive app in your editor.
Click Settings.
Click Connect Account.
Sign in to your Gmail account and click Allow.
Select a file to display.
Click Select File or Folder.
Navigate to the file or folder you want to display and click to select it.
Click Select.
(If necessary) Click Change to Public.
Note: When you click Change to Public:Files: This also changes your permission setting in your Google Drive.
Folders: Changing the permission to "Public" allows not only the selected folder, but also all its subfolders and files, to be viewed by visitors to your Google Drive.
Step 3 | Edit the app settings
Get the most out of your app, by customizing your file and folder settings.
To edit the app settings:
Click the Google Drive app in your editor.
Click Settings.
Click the Settings tab.
Choose what you want to do:
Edit your file settings:Replace a file: (Optional) Click the Replace icon to select a different file or folder.
Allow editing: Click the Allow editing toggle to allow users to make changes to your file:Enabled: Any site visitor can edit the file.
Disabled: The file is view only.
Note: By allowing editing on your site, the editing permission in Google Drive also changes. You can change it back at any time in your Google Drive.
Edit your folder settings:Replace file: (Optional) Click the Replace icon to select a different file or folder.
Display file info: Select or deselect the checkmarks to show or hide file info.
Select default sort: Click the drop-down to select the order in which files are displayed.
Note: Site visitors can reorder the files for themselves on your live site.
Enable search: Click the Enable Search toggle to enable or disable search:Enabled: Site visitors can search for files.
Disabled: Site visitors cannot search for files.
Step 4 | Customize the app design
Blend the app into your site by changing the design settings for your files and folders.
To customize the app design:
Click the Google Drive app in your Editor.
Click Settings.
Click the Design tab.
Choose what you want to do:
Edit your file design:Border width: Drag the slider to change the Border width.
Background corner radius: Drag the slider to round the corners of the file display.
Background color and opacity: Click the color box to select the border color. Drag the slider to change the border opacity.
Edit your folder design:Select folder name: Click the drop-down menu to customize the folder name font. Click the color box to select the text color.
List items text: Click the drop-down menu to customize the other text font. Click the color box to select the color.
Divider lines color: Click the color box to select a color for the divider lines.
Divider lines width: Drag the slider to change the divider width.
Hover color and opacity: Click the color box to select the color when visitors hovers over a file. Drag the slider to change the hover opacity.
Background color and opacity: Click the color box to select the background color. Drag the slider to change the background opacity.
Step 5 | Change the privacy settings to "public"
In order to display folders and files on your site, you need to change the privacy settings to "public"from the Share settings. Once you do this, you can display public folders and files on your site. This can be done for both personal and business accounts.
Depending on the account type you have, click on the option below to learn how to change your file settings.
Change the privacy settings for a personal account
Right-click the relevant folder or file in Google Drive.
Select Share.
(Optional) Type specific names or groups in the text field to give them access.
Click the drop-down arrow
under General access to change the access setting.
Click the drop-down arrow
on the right and choose what viewers can do:Viewer: Anyone with the link can view the files in the folder.
Commenter: Anyone with the link can view and comment on the files in the folder.
Editor: Anyone with the link can view, comment, organize files, add new files, and edit existing files in the folder.
Click Done.

Change the privacy settings for a business account
If you are the owner of this business account, you can change the privacy settings to provide certain people or groups within your organization with access.
Right-click the relevant folder in Google Drive.
Select Share.
(Optional) Type specific names or groups in the text field to give them access.
Click the drop-down arrow
under General access to change the access setting:Restricted: Only people that have the link or in the share list can access the folder or file.
Company specific access: Anyone from your company domain with the link can access the folder or file. Note: What you see here is unique to your company.
Click Done.
Note: In order to share company folders or files publicly, you need to have admin access. Ask your company administrator for access.
FAQs
Click a question below to learn more.
What does "Restricted Access" mean?
Restricted Access means that your folders and files are restricted to certain people. Only the people you allow access can access the folder or file.
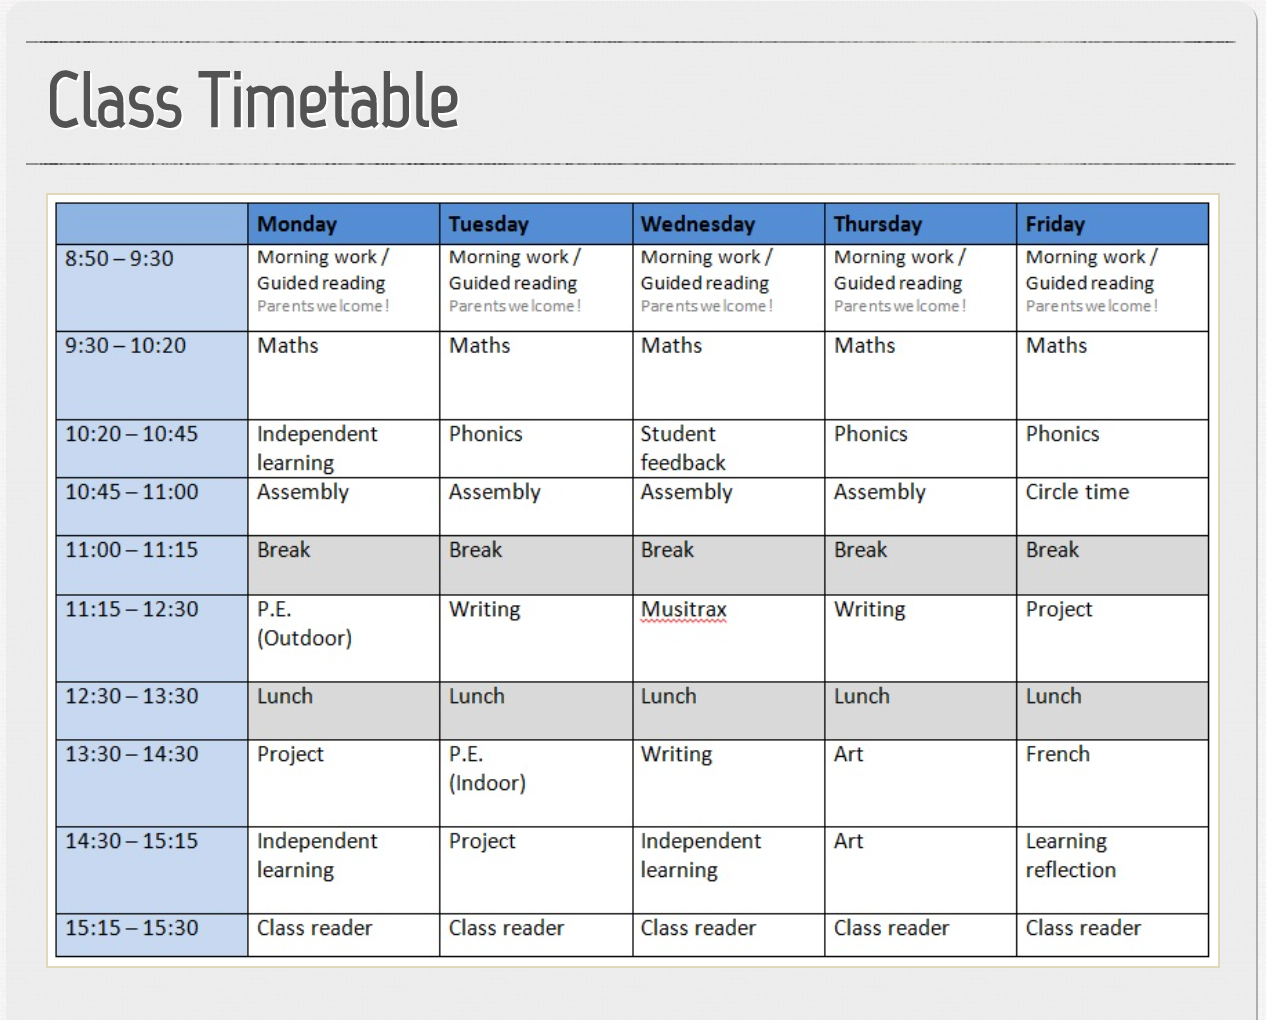
Tip: Use this setting when you have a folder or a file that you need to restrict to certain people or groups. E.g. Class timetables for teachers.
What does "Anyone with the link" mean?
This setting means that anyone that has been given the link by you (or someone else) can access the folder or file.
Tip: Use this setting when you have a folder or a file that you need to restrict to certain people or groups. E.g. Class timetables for teachers.
What file types are displayed?
You can display a Google file (e.g. Google Sheets, etc.) or a non-Google file you upload it to Google Drive (e.g. a Microsoft Word file etc.).
Can I give editing permissions on all of my files?
Editing permission can only be given for Google files. You cannot allow site visitors to edit other files you uploaded to your Google Drive (e.g. a Microsoft Word file). These files are always view-only.
What is company specific access?
Company specific access is unique to your company. Anyone from your company domain that has the link can access it.
For example, a folder is uploaded to a website for a school, this folder has class timetables for teachers that are employed in the school. Once the teachers are logged in to the website under their company credentials, they have access to the folder and can view the timetables.
I have a business account, why are my files not displaying?
You can connect a Google Workspace business account, but company files can only be displayed if your organization allows files and folders to be "Public on the web". You need to check this with your company.
Note: You also need to have admin access to the folder and files in order to share publicly. Your company can provide this.