Using the Wix app for Wix Events
Wix Events: Checking-In Guests Using the Wix App
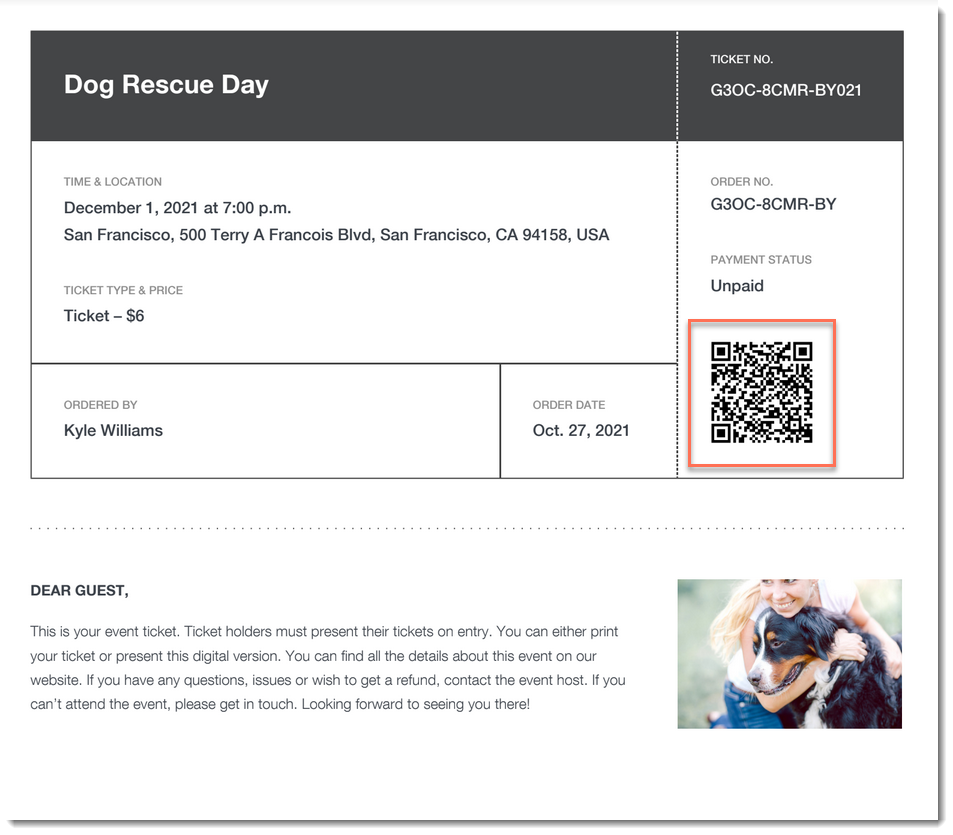
Use the Wix app to check guests in as they arrive at your event. For ticketed events, you can use the app to scan the QR code found on event tickets.

Important:
Go to your guest list in the Wix app shortly before you leave for the event, while you’re connected to the Internet. This ensures that you’ll be able to access the list and check guests in - even if you're offline during the event itself.
To check a guest in to an event:
Go to your site in the Wix app.
Tap Manage
 at the bottom.
Tap Events.
Tap Published Events.
Tap the event you want to view.
Choose what you want to do:
Change a guest's status to "Checked In"
Tap Guest List.
(Optional) Filter your guest list:Tap the Filter
 icon.
icon.
Do any of the following:Select a status (e.g. Not checked in)
Select one a payment status (ticketed events only).
Select one or more a ticket types (ticketed events only).
Select a sort option.
Tap Save.
Tap the checkmark next to a guest's name.

Scan a guest's ticket
Tap Guest List.
(Optional) Filter your guest list:Tap the Filter
 icon.
icon.
Do any of the following:Select a status (e.g. Not checked in)
Select one a payment status (ticketed events only).
Select one or more a ticket types (ticketed events only).
Select a sort option.
Tap Save.
Tap the QR icon
 at the top right.

Use your mobile device to scan the QR code that appears on the guest's ticket.

Tip:
You can also check in guests on desktop and on the Check-in by Wix app.
