Setting up Retail POS sales
Wix Retail POS: Setting Up Text Receipts
Important:
This article is about Wix Retail POS tablet for brick & mortar businesses.
For info on using POS on a mobile device, click here.
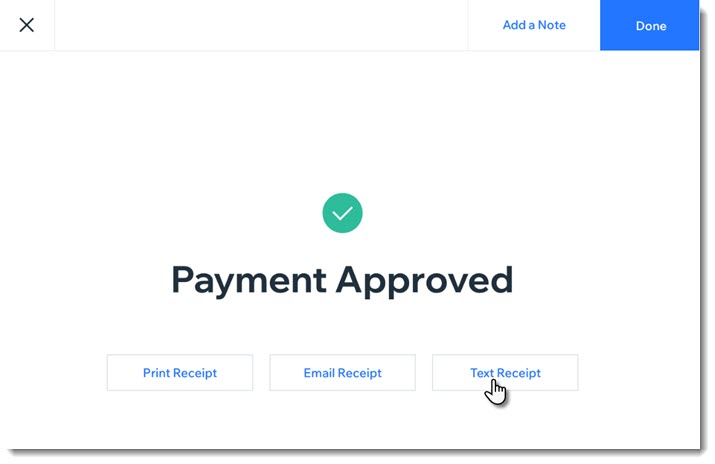
Save paper by providing customers with receipts via text message (SMS). After you enable this option, you'll be able to select it at checkout.

Enabling text receipts
To display the text message receipt option at checkout, you must first enable text receipts.
To enable text receipts:
Open the POS tablet.
Tap the Menu icon
 at the bottom left.
Tap Settings.
Tap Receipt on the left menu.
Enable the Enable text receipts toggle.
FAQs
Click a question below to learn more about text receipts.
How do I enter phone numbers correctly?
Enter your customer's phone number, starting with the country code, then the area code, and the actual number. For US and Canadian numbers, enter 1 as the country code, as in the example below:

How can I send or resend a text receipt at a later date?
Open the POS tablet.
Tap Sales History from the bottom bar.
Tap the relevant sale to select it.
Tap Actions.
Select Text Receipt.
Enter the phone number and tap Text Receipt.