Changing your Wix Video settings
Wix Video: Allowing Others to Embed Your Video on their Site
Allow your visitors to embed your video on their site or blog using HTML code. It's a great way to show your content to the world!
Important:
This option is only available for videos you have uploaded, not videos added from Facebook, Vimeo or YouTube.
This option is only available after upgrading to a Premium Plan or for Premium accounts.
To set up the embedding option:
Go to Video Library in your site's dashboard.
Hover over the relevant video and click the Edit icon
 .
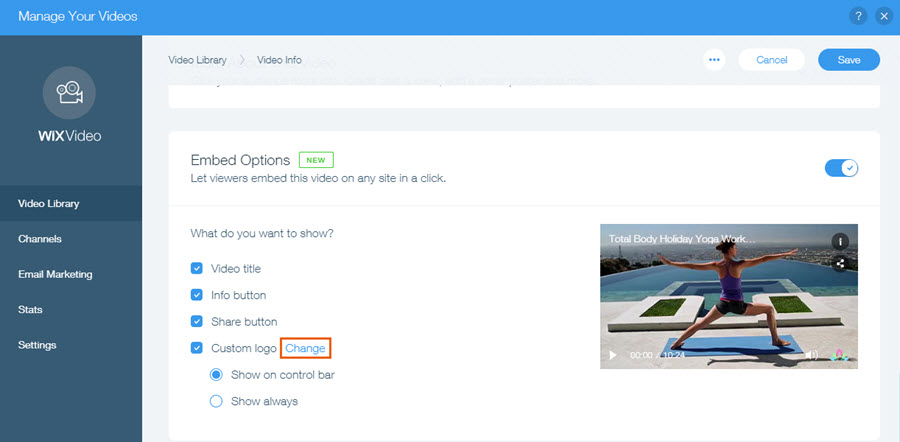
.Scroll down to Embed Options.
Click the toggle
 to enable embedding.
Select the information you wish to display.
Note:
You can add a custom logo to the embedded video, and choose when it appears. The recommended format for your logo is a transparent PNG file, 254 x 152 px.

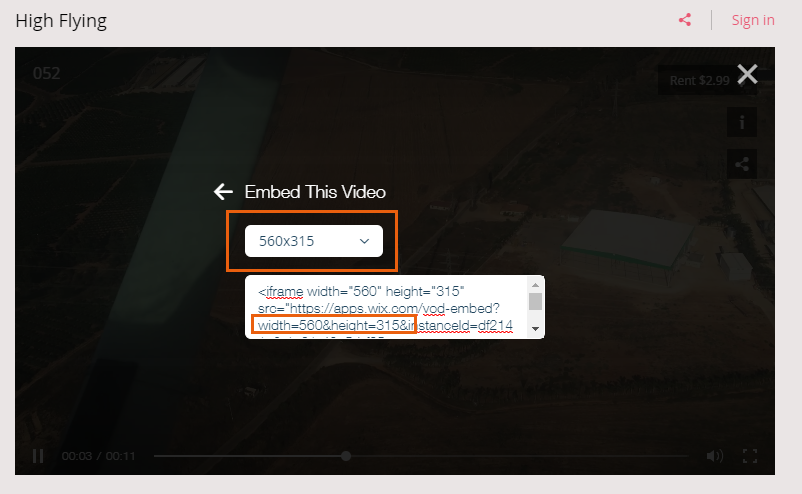
After setting up the embed option, visitors watching a video on your site can click the share icon and then access the embed code.

Important information about embedded videos
When your visitor embeds the video, all the relevant information, including title, cover, action cards, and price appear in the embedded video.
If your video is set to allow renting or streaming, viewers will be directed to your Wix site to complete the purchase.
Any changes you make to the video's information on your site also appears on the embedded video. However, changes made to the settings, such as changes in fonts and design after embedding the video do not appear in the embedded video.
Embedded videos in mobile friendly view
The size of embedded videos in mobile friendly view should be manually adjusted in the html code.

